Maintaining the integrity of your home’s roof is crucial for protecting your home against the elements. While professional roof repair services are readily available, tackling minor repairs yourself can save you money and time. Understanding the basics of roof maintenance and identifying when a DIY approach is appropriate are key steps for any homeowner considering a self-repair project. Before you pick up a hammer, it’s important to assess both your own capabilities and the specific needs of your roof. You should always take into account the complexity of the repair needed and whether it’s within your skill set to handle safely.
1. What tools and materials do I need for DIY roof repairs?
Embarking on a DIY roof repair requires an understanding of the tools and materials necessary for the job. Basic tools include a sturdy ladder, which provides safe access to your roof, and a reliable hammer for nailing down shingles or other roofing materials. Roof nails or screws, roofing cement, and a putty knife are essential for securing and sealing repairs. It’s also wise to have safety equipment like gloves, rubber-soled shoes, and a safety harness to prevent slips and falls. Depending on the repair, you may also need shingles, a tarpaulin for temporary coverage, and a roof-specific sealant to address leaks effectively.
Understanding the specific materials needed for different types of roofs is vital. Asphalt shingle roofs, for example, require asphalt-specific materials, while metal roofs need different sealants and fasteners. Knowing your roof’s material can guide your purchase of the right type of shingles or tiles needed for replacement. It’s also essential to match colors and types if you want your repair to blend seamlessly with the existing roof. For more advanced repairs, consider consulting with a professional to ensure all necessary materials are purchased before starting any roof work.
The right tools not only make the task easier but also more effective. Investing in a good-quality pry bar and chalk line will prove beneficial for more precise repairs. A utility knife is indispensable for cutting shingles, while a power drill may be necessary for securing fasteners. It’s also advisable to have a garden hose on hand for checking leaks and confirming repairs during dry weather. Proper preparation with all these tools and materials ensures the job can be completed without unnecessary interruptions.
2. How do I assess the condition of my roof?
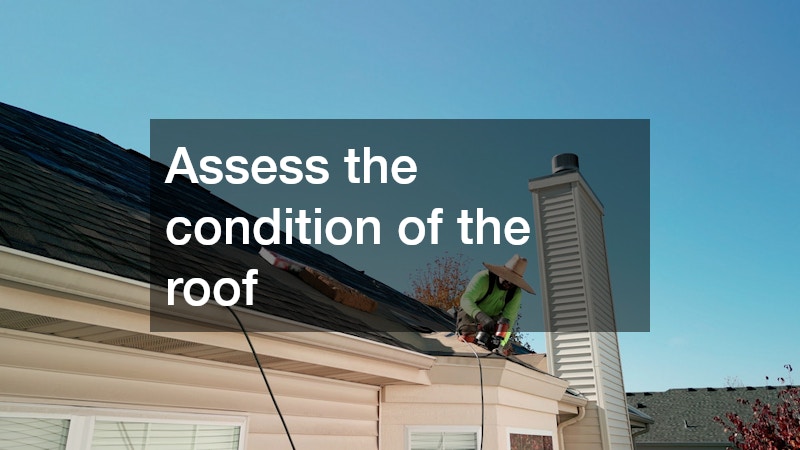
Before conducting DIY repairs, assessing the overall health of your roof is crucial. Start by conducting a visual inspection from the ground, looking for obvious signs of damage such as missing or curled shingles, cracked flashings, and sagging areas. Use binoculars to check hard-to-see spots, focusing on the ridge line and valleys, as these areas are more prone to leaks and damage. Inspect the attic for any signs of water stains or mold, which can indicate a roof leak. If accessible, walk the roof carefully to inspect the shingles up close, paying attention to any that are cracked, peeling, or missing.
Conducting a thorough inspection requires understanding warning signs that suggest underlying issues. If your roof is asphalt, granule loss in gutters can indicate aging shingles. For metal roofs, watch for rust spots and secure all bolts and seams; rust often signifies compromised waterproofing. Perform this inspection annually and after severe weather to catch problems early. Promptly identifying smaller issues like loose shingles or small leaks can prevent more extensive damage and costly repairs in the future. Utilizing a checklist can help ensure you don’t overlook any critical elements during your assessment.
Aside from physical signs, age is a major factor in determining your roof’s condition. Most roofs are designed to last 15-30 years depending on the material, and nearing the end of its lifespan can indicate the need for replacement rather than repair. Consider hiring a professional for a comprehensive inspection if any issues are beyond your expertise or if the roof is nearing the end of its expected life. This can help you make informed decisions about necessary repairs or replacement. Having a well-maintained roof not only protects your investment but enhances the curb appeal of your home.
3. What are common types of roof repairs?
Roof repairs can vary widely depending on the specific issues present. Replacing damaged or missing shingles is one of the most common repairs homeowners encounter. Shingles can curl, crack or go missing due to high winds, impacting your roof’s ability to protect your home from water damage. Another typical repair involves sealing leaks where water infiltrates, usually occurring at transitions in roofing materials or around installed fixtures like chimneys and vents. Fixing these leaks quickly is crucial to preventing interior water damage and mold growth.
Another frequent roof repair involves addressing issues with flashing. Flashing is material placed at joints to prevent water seepage, and when it becomes corroded or improperly sealed, leaks and structural damage can occur. Flashing repairs may involve resealing or replacing and ensuring a watertight connection. Vent boots are another common source of leaks that require repair; these help seal around plumbing vent pipes and need periodic inspection and maintenance. Ensuring these elements are in good condition guards against water intrusion and damage.
Gutter repair and maintenance are often overlooked aspects of roof repairs. Ensuring gutters are free of debris and properly drained prevents water damage to the roof and fascia boards. Broken or detached gutters can cause water to overflow, damaging the roof’s edge and the home’s foundation. Regular cleaning and repair of gutters is essential in preventing these issues. Alongside gutter maintenance, trimming overhanging branches can reduce leaf buildup and protect the roof from storm damage. These proactive measures significantly decrease the likelihood of extensive roof repair needs.
4. How do I ensure my safety while doing roof repairs?
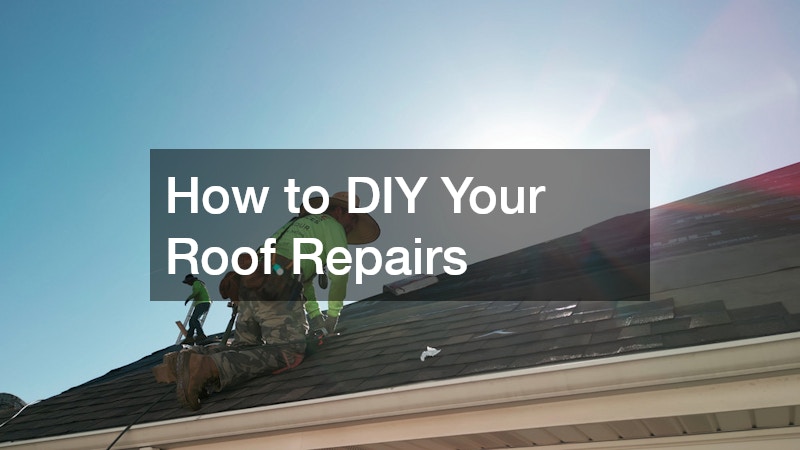
Safety is paramount when performing DIY roof repairs, beginning with thorough preparation. Ensure all tools and materials are within reach and organized to avoid accidents. Always use a sturdy, reliable ladder, ideally with a helper to stabilize it while you climb. Wearing the appropriate safety gear is crucial, including a safety harness attached to the roof to prevent falls. Rubber-soled shoes offer better traction, reducing the risk of slipping.
Understand the local weather forecast before beginning any roof work, avoiding repairs on wet or windy days. Carry out repairs in dry, clear conditions to ensure the safest working environment. Start by completing a risk assessment of the work zone and move cautiously and deliberately while working. Always remember that no repair is urgent enough to put your safety at risk. Keeping a mobile phone with you can provide quick access to emergency services should an accident occur.
Ensuring security while repairing roofs also involves knowing your limitations and when to seek professional help. Certain repairs, such as those involving steep roofs, require experienced hands due to the high risk of injury. Acknowledging this and enlisting assistance when necessary can prevent dangerous situations. Furthermore, informing someone when you’re working on the roof ensures quick assistance is available if needed. Prioritizing safety above all else ensures a successful and injury-free repair process.
5. How do I maintain my roof after repairs?
Maintaining your roof after completing repairs is key to extending its lifespan and avoiding future issues. Start by establishing a regular inspection schedule each spring and fall, checking for any signs of damage or wear. Proactively clean gutters to prevent water overflow and remove any debris that may accumulate on the roof. Moss and algae removal is important as well, as they can trap moisture and damage roofing materials over time. A well-maintained roof is less likely to require extensive repairs in the future.
Additionally, make note of the areas or types of damage that necessitated the recent repairs and monitor them closely. Address issues like overgrown trees by trimming back branches to prevent damage from falling limbs during storms. Ensure all flashing, vents, and roofing materials remain sealed and in good condition to prevent leaks. Consider applying a roof sealant every few years to improve water resistance and durability. Regular maintenance and timely repairs will maintain the integrity of your roof and protect your home.
Using preventative measures extends your roof’s lifespan and maintains its appearance. Stay informed about your roof’s material specifics and appropriate maintenance practices for each. Consider installing ventilation systems if your attic needs better airflow, helping to prevent moisture buildup and ice dams in colder months. A well-ventilated attic contributes to maintaining a healthy roof structure year-round. The minor time investment in regular maintenance ensures significant cost savings over a roof’s lifespan.
Embarking on DIY roof repairs can be both rewarding and economical, provided you take the proper precautions and preparation. Understanding necessary tools and materials, conducting thorough assessments of your roof’s condition, and knowing common repair types are fundamental to a successful project. Prioritizing safety is crucial, with planning and appropriate gear ensuring an accident-free repair process. Maintaining your roof post-repair with regular inspections and preventive measures is essential in extending its lifespan. Equipped with this knowledge, you can effectively manage basic roof repairs while safeguarding your home’s structural integrity.