- Proper planning is key: Measure your space accurately, assess storage needs, and sketch a detailed layout before starting construction.
- DIY builds save money and add control: Building your own closet is cost-effective, allows customization, and teaches valuable woodworking skills.
- Choose the right materials and tools: Use sturdy wood for framing, quality rods and brackets, and the proper tools to ensure durability and ease of installation.
- Build the frame first: A strong, level, and plumb frame is essential; it supports shelves, rods, and doors for a stable and functional closet.
- Add versatile storage features: Include a mix of shelves, rods, drawers, pull-out bins, and compartments for shoes, accessories, and seasonal items.
- Focus on finishing touches: Paint or stain, install trim or molding, add lighting, and incorporate organizers to make the closet functional and visually appealing.
- Regular maintenance and smart DIY strategies: Dust and check hardware regularly, avoid overloading shelves, pre-cut materials, use templates, and take photos to track progress and troubleshoot issues.
Building a closet from scratch during a room remodel is a rewarding DIY project. A well-planned closet provides organization, maximizes storage, and adds value to your home. This guide will break the project into preparation, step-by-step building, and finishing/maintenance, giving DIYers all the insights they need to succeed.
Why Build a Closet Yourself?
DIYing your closet is not just about saving money. Here’s why it’s worthwhile:
- Cost-effective: Labor is often the most expensive part of remodeling. Building yourself can save hundreds or even thousands of dollars.
- Full control over design: You can tailor shelf height, rod spacing, and compartments for your specific needs.
- Skill-building: Even if you’ve never attempted a project like this, following a structured process will teach woodworking, measuring, and basic construction skills.
- Satisfaction: Creating a functional, organized space with your own hands is rewarding.
Understanding why this is a DIY-friendly project helps you commit to the work and motivates careful planning.
Planning Your Closet Layout

Before any construction, plan your closet layout in depth:
- Assess storage needs: Determine how many rods, shelves, and drawers you require. Think about short garments, long garments, shoes, and accessories.
- Measure your space accurately: Include ceiling height, wall recesses, vents, or electrical outlets.
- Sketch your layout: Use graph paper or a digital tool to visualize the arrangement of rods, shelves, and drawers.
- Door selection: Decide if you want sliding, hinged, or bi-fold doors, depending on room size and style.
- Accessibility: Plan so you can reach items easily and move freely in the space.
DIY tip: Use painter’s tape on the floor to outline walls and shelves—this gives a real-world sense of space before you start cutting.
Selecting Materials and Tools
Choosing materials and tools is critical for a successful DIY build:
Materials
- Wood options: Plywood or MDF for shelves and frame; MDF is inexpensive and smooth, easy to paint.
- Framing lumber: 2x4s for the frame provide strength and stability.
- Rods and brackets: Metal rods for heavy clothing, or wooden dowels for lighter items.
- Hardware: Screws, nails, drawer slides, hinges, handles, and sliding door tracks.
- Finishes: Paint, stain, or laminate depending on your room’s aesthetic.
DIY tip: Repurposing old furniture or drawers can save money and add unique storage solutions.
Tools
- Measuring tape, pencil, and level
- Drill and screwdriver set
- Circular saw, jigsaw, or hand saw
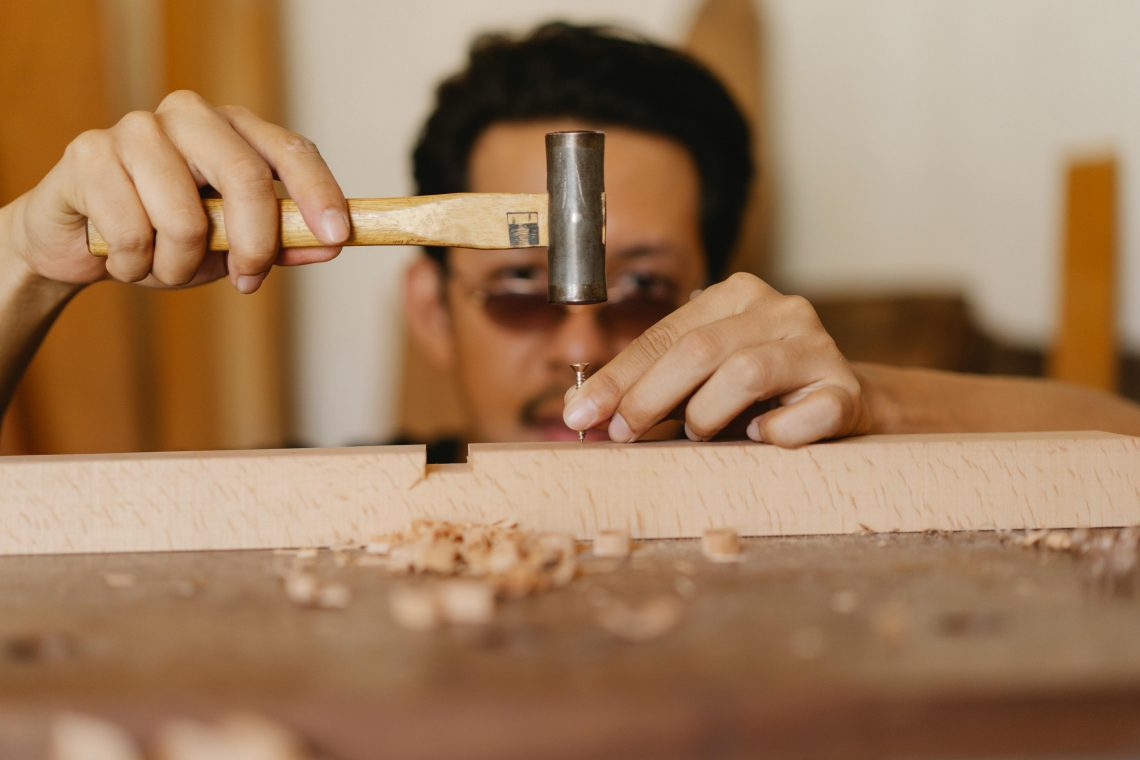
- Hammer or nail gun
- Stud finder
- Sandpaper or sander
- Clamps for stability during assembly
DIY hacks: Pre-drill holes to avoid splitting wood and use a speed square for perfect 90-degree cuts.
How to Build a Closet in 6 Steps
Step 1: Prepare the Space
Proper preparation is essential for a smooth DIY closet build:
- Clear the room: Remove all furniture, rugs, and wall hangings from the area where the closet will go. Even small obstacles can get in the way during construction.
- Protect surfaces: Use drop cloths, old sheets, or cardboard to protect flooring and walls from scratches, paint, and sawdust.
- Locate studs and obstacles: Use a stud finder to mark wall studs. Identify electrical outlets, switches, vents, or plumbing that could interfere with your closet layout. Mark them clearly with a pencil.
- Plan tool placement: Keep tools, screws, brackets, and measuring equipment nearby in a rolling cart or small tray to avoid constant back-and-forth trips.
- Double-check measurements: Take measurements of the entire area and verify them. Even small mistakes can affect the entire build.
Step 2: Build the Frame
The frame forms the structural backbone of your closet, so accuracy is critical:
- Outline the perimeter: Measure and mark the exact location of the closet walls on the floor and ceiling. Use a straight edge and level to ensure lines are straight.
- Install base and top plates: Attach 2×4 lumber along the marked floor and ceiling lines. Use long screws into the floor and ceiling joists for stability.
- Add vertical studs: Place studs 16–24 inches apart along the base and top plates. Ensure each stud is plumb using a level. Vertical studs will support shelves, rods, and doors.
- Secure to wall studs: Attach the vertical frame studs to existing wall studs using screws for extra strength. This prevents wobbling or bowing.
- Double-check alignment: Use a level horizontally and vertically to make sure the frame is perfectly straight. Misalignment here will make shelves and doors uneven.
- Hold studs temporarily: Use clamps or scrap wood to hold studs in place while fastening, especially if working alone.
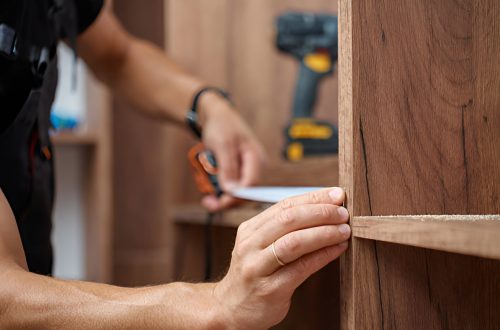
Step 3: Add Shelves
Shelves provide versatility and organization:
- Attach horizontal supports: Install cleats or brackets to the studs where each shelf will sit. Ensure they are level and securely fastened.
- Measure and cut shelves: Measure the distance between walls or cleats, leaving a small gap (about 1/8 inch) to prevent binding. Cut boards accurately using a circular saw.
- Install shelves: Place shelves on the brackets or cleats and secure with screws. Check that each shelf is level before fully tightening.
- Add adjustable shelving: Use shelf support tracks or adjustable brackets for flexibility in changing heights later.
- Choose proper shelf thickness: Thin plywood is fine for lightweight items, while thicker plywood or solid wood prevents sagging under heavy clothing or storage.
Step 4: Install Hanging Rods
Closet rods are critical for efficient garment storage:
- Determine rod height and spacing: For short garments like shirts, use 40–42 inches. For long garments like dresses or coats, use 65–70 inches.
- Install rod brackets: Attach brackets at both ends of the rod and add middle support for longer spans.
- Cut rods to size: Metal rods or wooden dowels should be slightly shorter than the space to simplify installation.
- Mount rods: Slide the rod into brackets, ensuring it is level and secure.
- Use the right material: Wooden dowels are lightweight and easy to handle solo, while metal rods are stronger for heavy coats. Painting wooden dowels can add a polished look.
Step 5: Install Doors
Doors protect contents and enhance aesthetics:
- Sliding doors: Ideal for small spaces. Carefully measure and install tracks for smooth operation. Check alignment and clearance.
- Hinged doors: Easier for DIYers. Align hinges precisely to avoid doors swinging unevenly.
- Bi-fold doors: Good for narrow openings. Ensure tracks and hinges are straight to prevent binding when opening.
- Mark hinge placement: Use painter’s tape as a temporary guide to ensure doors are perfectly level before drilling. Test operation repeatedly before finishing.
Step 6: Finishing Touches
Finishing transforms your closet into a functional and visually appealing space:
- Paint or stain: Apply paint or stain to shelves, frame, and doors to match room décor. Use light coats to reduce drips and achieve a smooth finish.
- Add trim or molding: Cover gaps between walls and shelves for a polished, professional look.
- Install lighting: LED strips, puck lights, or battery-powered options improve visibility inside the closet.
- Include organizers: Hooks, baskets, drawer dividers, or pull-out bins maximize storage and keep items accessible.
- Add small finishing details: Even inexpensive touches like LED tape lighting or small baskets can improve usability and style without major cost.
Customization, Maintenance, and DIY Tips

After building the core structure of your closet, customizing it, maintaining it, and applying smart DIY strategies can make your closet more functional, stylish, and long-lasting.
Customization
Closets are not one-size-fits-all. Personalizing your space ensures it meets your storage needs and suits your lifestyle:
- Mix drawers, shelves, and rods: Combine hanging spaces for long and short garments with shelves and drawers for folded items. For example, place a double rod section for shirts and jackets, with shelves above for sweaters.
- Add compartments for shoes, bags, or accessories: Shoe cubbies or angled shelves prevent clutter, while small boxes or dividers keep handbags, scarves, and belts organized. Use labeled bins or clear containers for easy visibility.
- Install mirrors: Mirrors on doors or interior walls enhance light, make the space feel larger, and allow quick outfit checks. Sliding or hinged mirror panels can double as functional design elements.
- Pull-out bins or drawers: Ideal for seasonal clothing, laundry, or small items like hats, gloves, or socks. Repurpose shallow drawers from old cabinets or make simple wooden pull-out boxes to slide into shelves.
- Add hooks and rods for accessories: Hooks on the inside walls or doors can hold belts, ties, or jewelry, keeping frequently used items visible and accessible.
- Build modular sections: Design shelves, drawers, and rods in sections that can be adjusted, moved, or upgraded as your storage needs change.
Maintenance
Regular maintenance preserves the closet’s structure and usability over time:
- Dust and clean surfaces: Wipe down shelves, rods, and corners regularly to prevent buildup. For wooden shelves, use a damp cloth and avoid harsh chemicals to protect the finish.
- Check hardware: Inspect screws, brackets, and supports periodically. Tighten anything loose to prevent sagging shelves or falling rods.
- Avoid overloading: Respect weight limits for shelves and rods. Overloading can warp shelves or pull brackets out of the wall. Add extra support for heavy items like winter coats or boots.
- Rotate seasonal items: Store off-season clothing in bins or on higher shelves to free up prime space for current wardrobes.
- Keep a small toolbox nearby: Having tools on hand allows quick adjustments and helps maintain a DIY-built closet safely, keeping it organized and looking professional.
DIY Tips
Successful DIY closet building depends on planning, efficiency, and practical strategies:
- One-person builds: Use clamps, temporary supports, or a friend for heavy pieces. Work in stages—frame first, then shelves, rods, and doors. Taking your time reduces errors and frustration.
- Budget-friendly hacks: Repurpose old furniture, drawers, or crates for storage solutions. For example, an old dresser drawer can become a pull-out shelf or cubby. Buy MDF or plywood sheets in standard sizes to minimize waste and cost.
- Time-saving tricks: Pre-cut all shelves, rods, and trim before starting installation. This prevents on-the-spot measurement mistakes and allows assembly to flow smoothly.
- Avoiding mistakes: Measure twice, cut once, and check for level alignment at every step. Small errors compound quickly in DIY projects, so double-check before securing pieces permanently.
- Use templates or guides: For repetitive tasks like drilling bracket holes or installing rod supports, make a cardboard or wood template to ensure consistent placement.
- Take photos of your progress: Photos can guide you in future maintenance or modifications and help troubleshoot any alignment issues.
Final Thoughts
Building a closet from scratch during a room remodel is a practical, rewarding, and DIY-friendly project. By planning carefully, using the right materials, following a clear step-by-step building process, and adding finishing touches, you can create a functional, stylish, and long-lasting storage solution. DIYers will not only save money but also gain skills, satisfaction, and a closet that perfectly fits their lifestyle.