- Preparation is crucial: Gather all necessary tools and materials before starting to save time and avoid frustration.
- Accurate measurements matter: Properly measuring and marking your space ensures a level, stable frame.
- Frame step by step: Build base and top plates first, install vertical studs, and frame the door opening carefully.
- Add support for shelves: Installing horizontal blocking ensures shelves and rods are sturdy and can hold weight.
- Avoid common mistakes: Double-check measurements, level studs, and don’t rush framing or door installation.
- Customize for functionality: Add adjustable shelves, multiple rods, hooks, or lighting to make your closet practical and efficient.
Framing a closet may sound intimidating if you’re new to DIY projects, but with the right guidance, anyone can do it. Whether you’re adding storage to a bedroom or finishing a basement, learning how to frame a closet properly is a skill that can save time and money. This guide will walk you through the process step by step, with easy-to-follow instructions, helpful tips, and a few common mistakes to avoid.
Why Should You Frame a Closet Yourself?
If you’re wondering how to build a closet yourself, the process may seem complicated, but taking on the project comes with several benefits:
- Cost savings: Professional carpentry can be expensive. Framing your own closet reduces labor costs.
- Customization: You get to choose the size, layout, and features that best suit your space.
- Skill building: Learning basic framing skills can help you tackle other home improvement projects in the future.
- Satisfaction: Completing a DIY project gives a sense of accomplishment and adds value to your home.
Framing a closet doesn’t require advanced skills. With basic tools, some planning, and patience, you can achieve professional-looking results.
What Tools and Materials Will You Need?

Before you start, it’s important to gather all the tools and materials. Here’s what you’ll need for a standard closet frame:
Tools:
- Measuring tape
- Level
- Carpenter’s square
- Circular saw or miter saw
- Drill or screwdriver
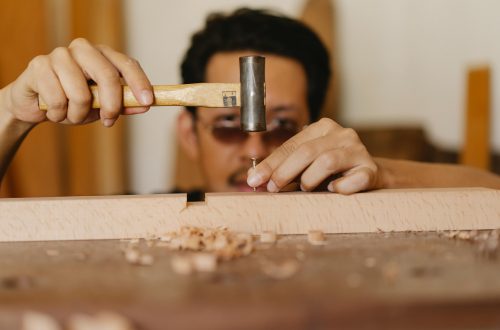
- Hammer
- Pencil or chalk line
Materials:
- 2×4 lumber for the frame
- Plywood or drywall for walls
- Nails and screws
- Wood shims
- Door frame kit or hinges if installing a door
Having everything ready before you start will save time and prevent frustration during the build.
How to Plan Your Closet Frame
Before cutting any wood, you need to plan your closet layout. Ask yourself these questions:
- How big should the closet be?
- Will it be a reach-in or walk-in style?
- Where will the door or doors go?
- What shelving or hanging space do I need?
Draw a simple sketch of your closet design with measurements. This plan will guide you and help ensure accurate cuts and placement.
How to Frame a Closet in 8 Steps
Step 1: Measure and Mark Your Space
Accurate measurements are crucial. Here’s how to start:
- Measure the width, height, and depth of the area where the closet will go.
- Mark the floor and ceiling lines where the frame will be built.
- Use a level to make sure all lines are straight and square.
Taking your time in this step prevents uneven walls and crooked frames.
Step 2: Build the Base and Top Plates
The base and top plates form the foundation of your closet frame.
- Base plate: A 2×4 laid on the floor along the back wall. Secure it with nails or screws into the floor joists.
- Top plate: A 2×4 along the ceiling, mirroring the base plate. Ensure it’s directly above the base and level.
These plates connect the vertical studs that make up the walls of your closet.
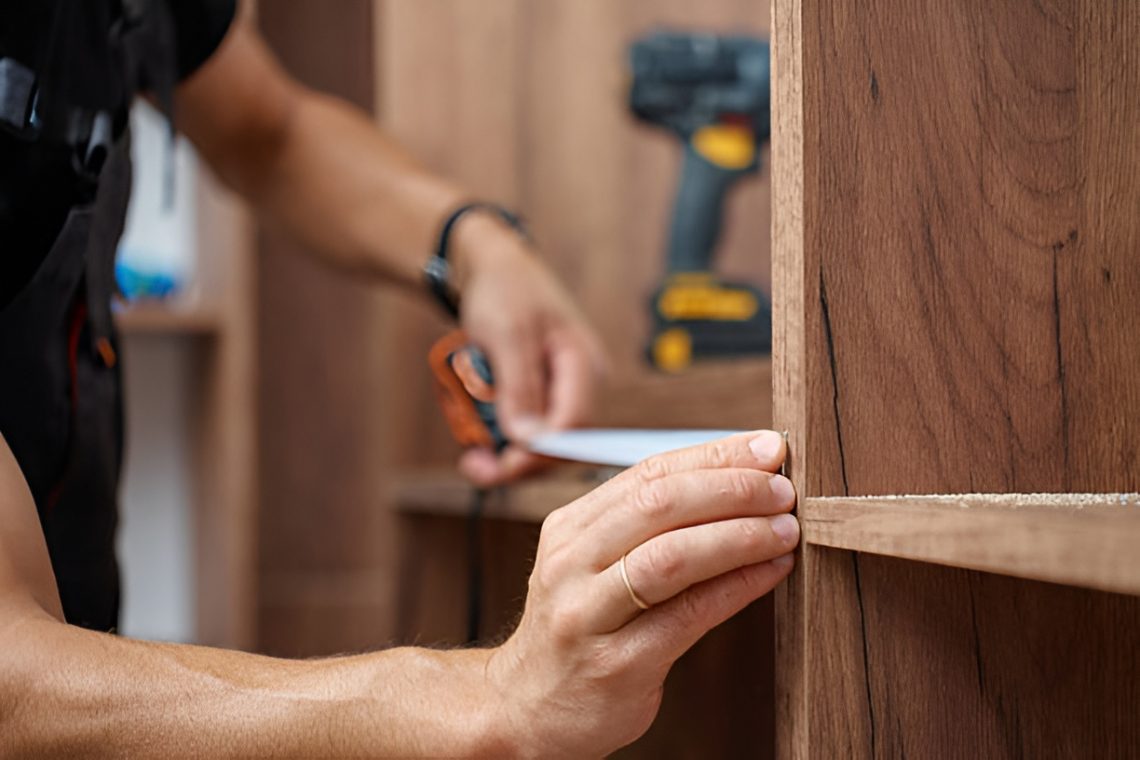
Step 3: Install Vertical Studs
Vertical studs provide structure for the walls. Follow these steps:
- Cut your 2×4 studs to the height of your closet minus the thickness of the base and top plates.
- Place studs every 16 inches on center for stability.
- Nail or screw each stud to the base and top plates.
- Use a level to make sure each stud is perfectly vertical.
Properly spaced and secured studs will support drywall, shelving, and hanging rods.
Step 4: Frame the Door Opening
If your closet will have a door, it’s essential to frame the opening correctly:
- Header: Install a horizontal 2×4 above the door opening to support the wall above.
- King studs: Full-length studs on each side of the opening that carry the load.
- Jack studs: Shorter studs supporting the header, attached to the king studs.
Measure carefully to ensure the door will fit snugly and operate smoothly.
Step 5: Add Blocking for Shelves
If your closet will have built-in shelves or rods, adding horizontal blocking between studs is essential:
- Use 2x4s or plywood strips to create support points.
- Place them at heights where shelves or rods will be mounted.
- Secure with screws or nails for extra stability.
This step makes installing shelves much easier and ensures they can hold weight without sagging.
Step 6: Install Drywall or Plywood
Once the frame is built, you need to enclose it:
- Cut drywall or plywood sheets to fit the walls.
- Attach panels to the studs with screws or nails.
- Fill gaps with joint compound and sand smooth if using drywall.
This gives your closet a finished look and prepares it for painting or further customization.
Step 7: Finish the Floor and Ceiling
Closet flooring may match the rest of the room or be new material:
- Add a baseboard along the bottom if needed.
- Ensure the ceiling is level and fits flush with the top plate.
A clean finish adds a polished look and protects your walls from damage.
Step 8: Install the Door and Hardware
Finally, attach the closet door:
- For hinged doors, attach hinges to the door frame and hang the door.
- For sliding doors, install the top and bottom tracks.
- Check that doors open and close smoothly.
Adjust as necessary to ensure proper alignment.
Common Mistakes to Avoid When Framing a Closet
Even simple projects can go wrong if you’re not careful. Avoid these pitfalls:
- Skipping measurements or double-checking lines
- Using warped or poor-quality lumber
- Forgetting to level and square studs
- Not adding enough blocking for shelves
- Rushing the door framing
Taking your time and following each step carefully ensures a stable, professional-looking closet.
Tips for Making Your Closet More Functional

Once the frame is done, think about long-term usability:
- Add adjustable shelving: Allows flexibility as storage needs change.
- Install a closet rod at two heights: Maximizes hanging space for different clothing types.
- Use hooks or pegboards: Great for accessories or small items.
- Consider lighting: LED strips or a small ceiling light brighten the space.
These additions make your closet not only sturdy but also practical.
How Long Does It Take to Frame a Closet?
The time required depends on your experience and the complexity of the design:
- Simple reach-in closet: 4–6 hours for framing, plus additional time for drywall.
- Walk-in or larger closet: 1–2 days for framing, with extra for finishing touches.
Planning ahead and having materials ready will speed up the process significantly.
When Should You Call a Professional?
While framing a closet is beginner-friendly, there are situations where professional help is wise:
- Structural concerns, such as load-bearing walls
- Complex designs or large walk-in closets
- Electrical work or integrated lighting
- Tight deadlines or lack of proper tools
A professional can ensure safety and quality if the project feels overwhelming.
How Much Does It Cost to Frame a Closet?
Costs vary depending on size, materials, and tools. On average:
- Lumber: $50–$150
- Drywall or plywood: $30–$100
- Screws, nails, and hardware: $20–$50
- Doors and finishing: $50–$200
Doing it yourself can save hundreds compared to hiring a contractor, especially if you already have some tools.
Final Thoughts
Learning how to frame a closet is a rewarding DIY project that adds storage and value to your home. By following this step-by-step guide, taking accurate measurements, and avoiding common mistakes, you can build a sturdy, functional closet in your space. With proper planning, the right tools, and patience, even beginners can achieve professional results.
Framing a closet is just the beginning—once the frame is complete, the possibilities for customizing shelves, rods, and storage solutions are endless. With this knowledge in hand, you’re ready to tackle your next closet project confidently.